Saturday, August 3, 2013

New Cluster Frames Coming in September

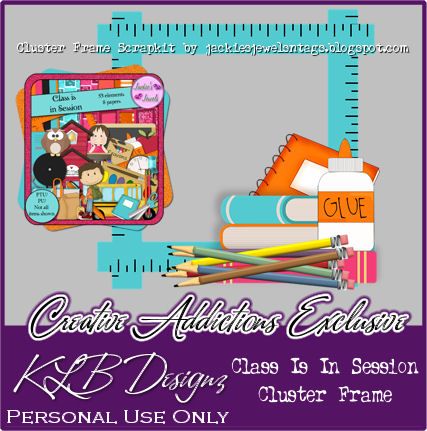
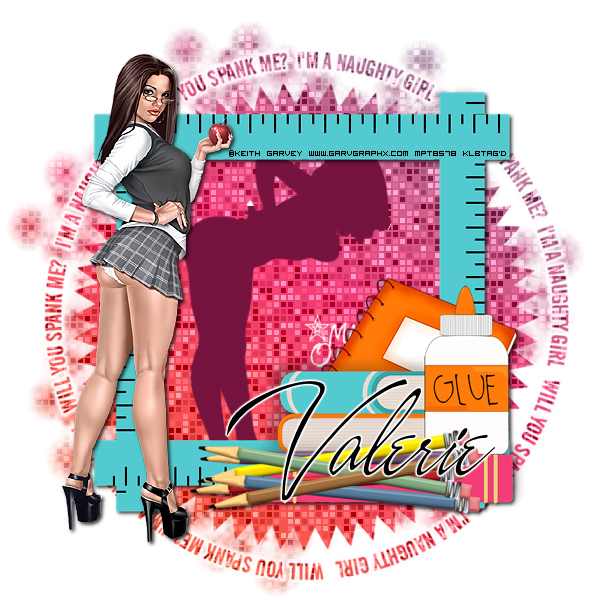
The theme for the Cluster Frame Challenge at Creative Addictions for August is Back to School.  Here is a tag made with one of the cluster frames that will be available exclusively on the Creative Addictions Blog.


Thursday, August 1, 2013

Tastefully Simple

Well, I now officially have a website.  These are fantastic products!  You can order online now!  Whoot.

Val's Tastefully Simple Website

July Cluster Frames posted at Creative Addictions!

Hey everyone!  My Exclusive Cluster Frames are posted on the Creative Addictions blog now!  Whoot! Here's a sample of one of them.


You can get them here.

Sunday, July 7, 2013

New Business Adventure

Well, I took the plunge and became a Tastefully Simple Consultant.  Since I'm just starting out, I don't have a website quite yet, but I will by the end of the month.  In the meantime, check out my Facebook page for more information on my business and to contact me about ordering or if you are in the Indianapolis area, contact me about a tasting party!  They are sooooooo fun and the products are phenomenal.

Tastefully Simple by Val

Creative Addictions Exclusives

More new Creative Addictions exclusive cluster frames coming in early August!!  I can't wait to share them with you!!


Exclusive Creative Addictions Cluster Frames


My cluster frames are posted on the Creative Addictions blog!  

You can find them Here

Monday, June 17, 2013

Thinking of tutorials

Need to start writing tutorials again.  Perhaps as it gets hotter and I'm stuck inside more.  :)  I'm enjoying the outside while I can!  I hope you like my new look.  I am wishing for the beach and Fort Myers Beach is a favorite place of mine.  I would love to live there.  Anywho, enough of my longings....perhaps I'll come out with a tutorial soon.  I'm really addicted to Cluster Frames as you can see from my recent posts.

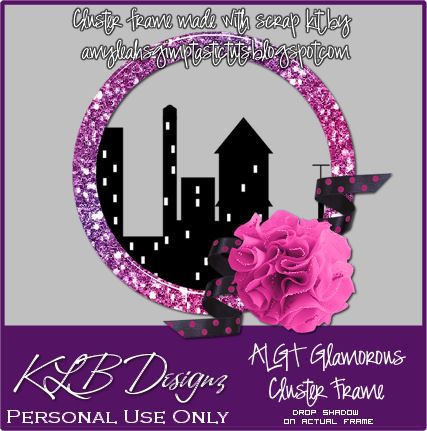
Glamorous Cluster Frame

A new cluster frame for you to play with!  Goodness I'm addicted to these things.  This download has a pspimage file and a png file so that all can use it.  I'll be fixing the other links as I can in the coming days/weeks.


Thursday, June 6, 2013

Catch A Wave Sampler Cluster Frame

I made a new cluster frame to share with you.  I've been making frames for Creative Addictions, two will be on the blog and two will be available in the Creative Addictions Shoppe (click on the blinkie for CA below to go to the forum).  While I was making those, I seemed to be on a roll, so I made another.  See the preview and download link below.  Enjoy and if you download, please leave some love.  :)


Sunday, May 5, 2013

New Exclusive Mask at Creative Misfits

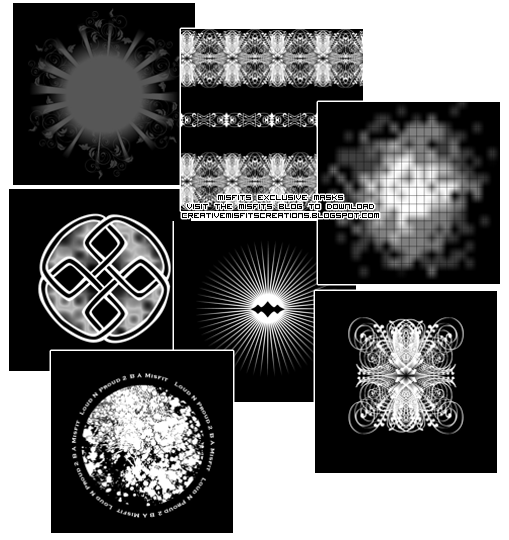
I did a Mask challenge in the Creative Misfits forum and the masks have now been posted on the Misfits blog.  I hope you like what all of the ladies have created.  Have fun!!


Find the masks here

Friday, April 12, 2013

Emo Glamorous Cluster Frame

My goodness!!  I think I am officially addicted.  LOL!  Here's another for you.  I hope you like it.


Thursday, April 11, 2013

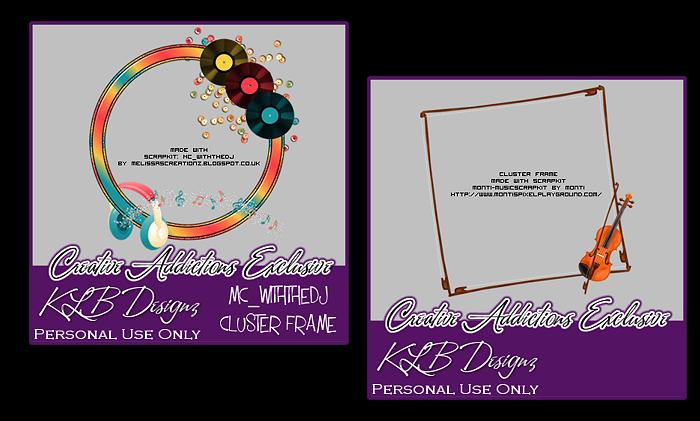
Creative Addictions Exclusive Cluster Frames

Howdy!  I've been busy the last couple of days!  I have made some cluster frames that will be posted on the Creative Addictions Blog in May.  Whoop!  I'll share the link soon when they are posted.

Here are previews of them:


Tuesday, April 9, 2013

New Exclusive Masks

I just designed some masks that will be exclusively on the Creative Misfits blog soon.  I'll share the link when they get posted.  It's designer's choice, so you will get a dukes mixture of different things.  I think they turned out ok.  I'm not much of a mask maker, but I'm going to practice more.  It's kind of addictive actually.

Friday, March 15, 2013

Hello friends!  I thought I would give you an update on me.  I've been down due to having surgery at the end of January.  I won't go into detail but I haven't been able to sit at my desk until just recently.  I've gotten back into PSP slowly, so it will be a little while before I am able to post anything new.  I have a kit in the works and had been working on some tutorials, so hopefully those will be finished soon now that I am feeling better and back at the desk again.  I appreciate your patience and hope that you will bear with me as I am still recovering.

Sunday, September 9, 2012

PinkPink CA Exclusive Scrap Kit

Whoot!  I made a full scrap kit.  Wow, I can't believe it!  It's an exclusive for Creative Addictions.  You can find it HERE.  You do have to be a CA member and earn a few addictions to get it, BUT it is super easy to earn them just by doing a few of the challenges.  Check it out in the preview below.


Sunday, August 19, 2012

Templates


You can download them here.


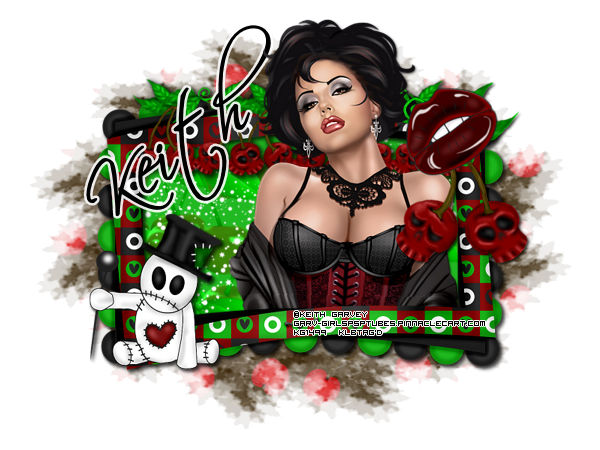
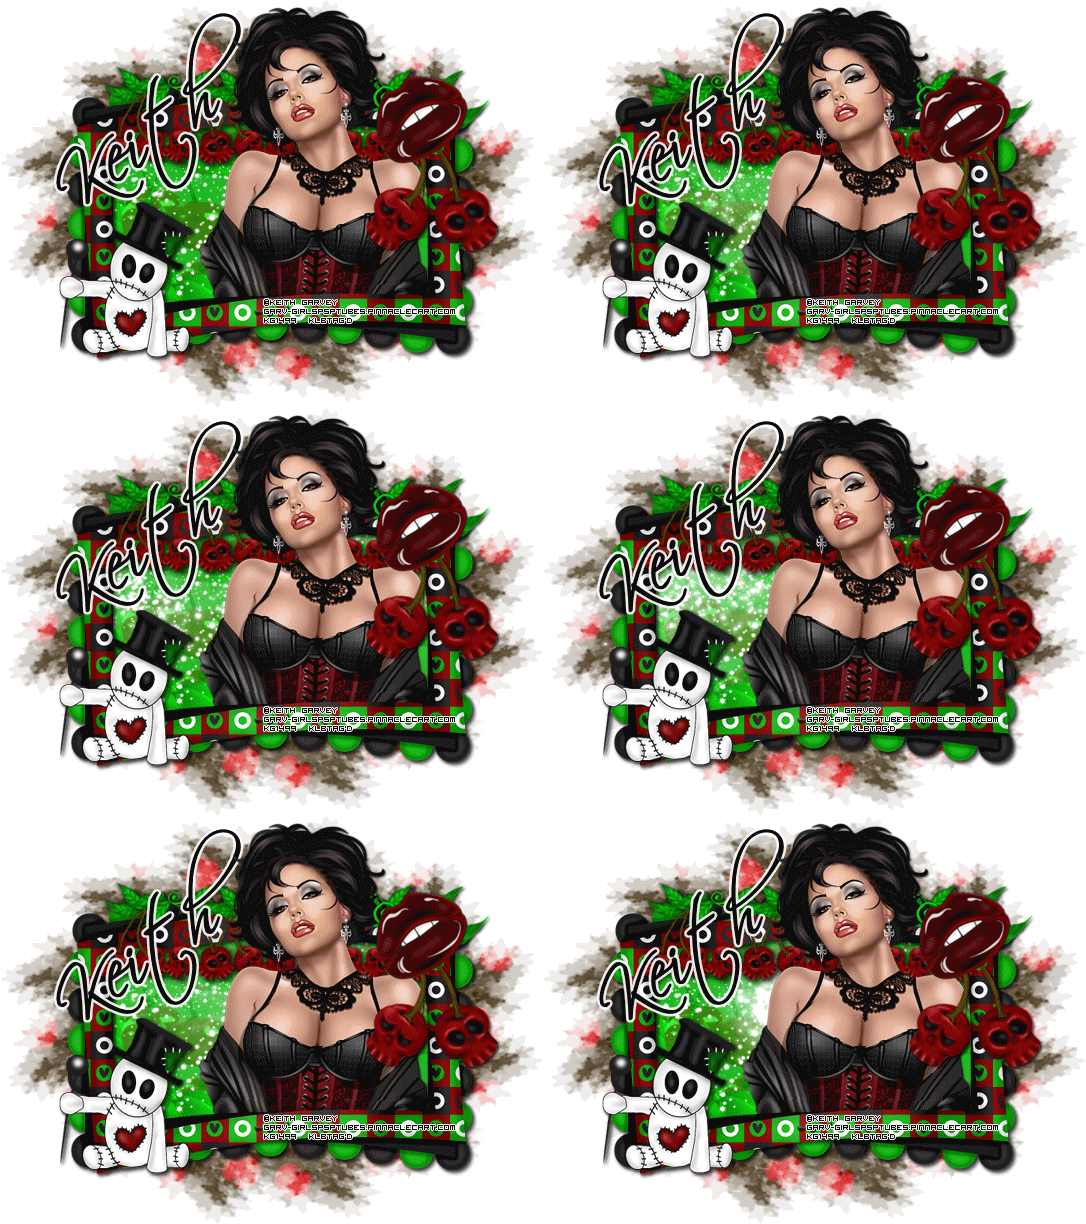
Cherry Emo - FTU


I am using the awesome artwork of Keith Garvey.  You can now buy his tubes in his store at Garv Girls.  You have to have a license to use his artwork.

This tutorial assumes that you have working knowledge of Paint Shop Pro and it’s tools.  This tutorial was written by Valerie Atwell of KLBDesignz, on August 15, 2012.  You may not copy it, distribute it or claim it as your own.  I do not allow translation of my tutorials.  You are welcome to include a link back to my tutorial for your groups and forums.  If this tutorial resembles any other in existence, it is purely coincidence.

What you need:

Cherry Emo Scrap Kit by Kittz:  Cherry Emo by Kittz  
Choice of tube
Choice of font
Mura Meister Copies HERE
Round mask of choice (I found great ones at Weescotslass's Blog)

Open EC-5.  Shift + D to duplicate.  Close the Original.  Go to Images, Canvas Size and set it to 800 x 600.  We will re-size later.  Adjust, Sharpness, Sharpen.

Grab your Selection tool and set it to rectangle.  Draw a rectangle a bit bigger than the opening of the frame. Add a new layer.  Flood fill with a coordinating color to your frame.  I chose the green from the frame.  Select none and move it to the bottom on your layers palette.

Open your tube.  Copy and paste as a new layer.  Re-size if necessary.  Duplicate the tube and move the original to below the frame.  On the top tube layer, you will want to erase until it looks like your tube is "coming out" of the frame.  See my sample for reference.

Add a drop shadow to the original tube layer.  I used V-2; H-2; O-80; B-5; Color-Black.

Open EC-8.  Copy and paste as a new layer.  Re-size by 50%.  Go to Image, Free Rotate by 35.  Adjust, Sharpness, Sharpen.  Move it to the top right corner of the frame on top of the top tube layer.

Open EC-2.  Copy and paste as a new layer.  Re-size by 60%.  Adjust, Sharpness, Sharpen.  Move this layer under the lip layer on the layers palette.  Position so that it is hanging under the lips.  Add a drop shadow.

Activate your frame fill layer (the green layer on my sample).  Open EC-36.  Copy and paste as a new layer.  Re-size by 50%.  Move it to the left side of the frame.  Duplicate and mirror.  Right click on the duplicate layer.  Merge, merge down.

Re-activate the fill layer.  Selections, Select all, Float, Defloat.  Activate the "sparkle" layer.  Selections, Invert.  Hit delete on your keyboard.  Selections, select none.

Open EC-43.  Copy and paste as a new layer.  Move into the center of the frame.  Re-size by 70%.  Go to Effects, Plugins, Muras Meister, Copies.  Use the default settings except set the Number at 3 and the Tile Gap at 6.  Activate the frame fill.  Selections, Select All, Float, Defloat.

Activate the cherry layer.  Selections, Invert, Delete.  Set the blend mode of this layer to Overlay.  Move it under the "sparkle" layer.

Now, open a paper of your choice from the kit.  Copy and paste as a new layer.  Move it to the bottom of the layers palette.  Apply your round mask.

Add your copyright information and the name.  I used a thin white glow on mine.  

Re-size to your liking.  I re-sized the width to 600.

Save as a PNG if you aren't going to animate to get a transparent background.

To add an animation:

Open Animation Shop (AS). 

In PSP:  Turn off all layers of your tag except the fill layer, cherries and sparkles.  Edit, Copy Merged.  

  Back to AS:

Paste as a new animation.

Choose a horizontal sparkly animation.  Open the animation in AS.

Re-size the animation as needed.  Also, note the number of frames in your animation.

On your tag animation canvas. Right click and duplicate selected until you get the same number of frames as the sparkly animation.

Move the scroll bar to the first frame.  Hit Cntrl + A to select all of the frames.  Do the same on your sparkle animation.

Click and drag your sparkle animation to your tag animation.  Be sure you position it where you want it before you let go of the mouse.  (You may have to undo and redo it a few times to get it where you want it.)

In PSP:  Activate the mask layer.  Edit, Copy.  In AS:  Paste as a new animation.  Repeat the duplication process above.  You will need to drag the animated piece to the mask piece so that the animation is on top of the mask.

In PSP:  Close off the fill layer, cherries, sparkles and mask layers.  Open every other layer (click on the eye to open it).  Edit, copy merged.

In AS:  paste as a new animation.  Repeat the duplication process above.  This time you will drag this canvas onto the mask piece.

Test your animation by going to View, Animation.  (or the same icon on the toolbar)

You can slow down the animation by right clicking and choosing Frame Properties.  Set it to 15.

Now, right click again.  Go to Animation Properties.  Toggle the Opaque and set the color to white.

Save using the default optimization.


Thanks for trying my tutorial.  I would love to see your results.  Feel free to post them on my Facebook page.


Saturday, August 11, 2012

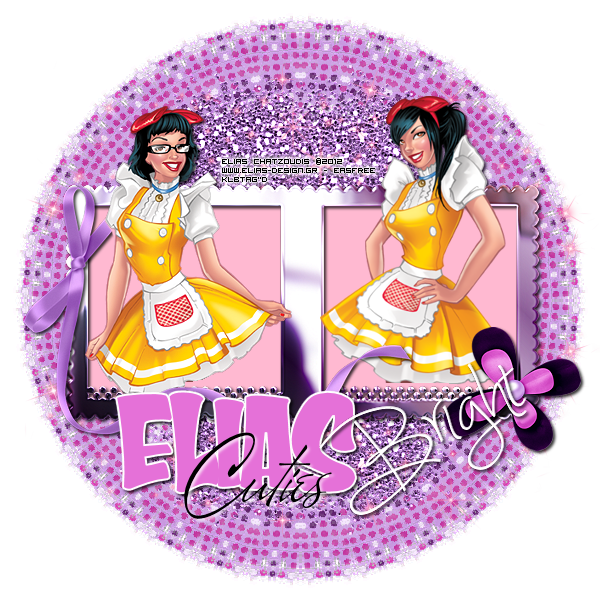
Elias Cutiez - PTU


What you need:
Tubes of Choice, I am using the gorgeous new free tubes by Elias Chatzoudis.  You can find them here
Manipulated by Magik Skull Candy, you can find it here:  here  It is a pay to use kit, but sooo worth it!
Mask by me   you can find it here
Eye Candy 4000, Gradient Glow
VM Distortion here
A Script Type font and a Block font

This tutorial assumes that you have working knowledge of Paint Shop Pro and it’s tools.  This tutorial was written by Valerie Atwell of KLBDesignz, on August 12, 2012.  You may not copy it, distribute it or claim it as your own.  I do not allow translation of my tutorials.  You are welcome to include a link back to my tutorial for your groups and forums.  If this tutorial resembles any other in existence, it is purely coincidence.

Let's get started!

Open Frame 4.  Copy and paste as a new layer.  Shift + D to duplicate.  Close the Original.

Image, Canvas Size, 600x600

Image, Resize, 85%, Resize all layers unchecked

Adjust, Sharpness, Sharpen more.  Add a drop shadow, 2, 2, 80, 4.

Grab your magic wand tool.  Default settings.  Click inside the center of one side of the frame.  Selections, Modify, Expand by 10.

Floodfill with a color of your choice or paper of choice.  Select none.  Duplicate, then Image, Mirror

Add a new raster layer.  Move to the bottom.  Open a paper of choice.  Selections, Select All.  Copy and Paste Into Selection.

Go to Layers, load the DirtyGirl Mask or a mask of choice with Invert Transparency checked.  Merge Group.  Adjust, Sharpness, Sharpen more.

Effects, Plugins, VM Distortion, Kaleidoscope these settings:  128, 128, 0

Open 2 of your tubes.  Copy and paste one tube as a new layer, resize as necessary and move to the left side of the frame.  Adjust Sharpness, Sharpen.

Duplicate the tube and move the original under the frame.   With the eraser tool erase the bottom part of the tube just to above the bottom of the frame.

Now erase the top tube to to the dots on the frame.  Be sure to erase enough so that the dots are showing again.  See my example for reference.

Add a drop shadow to the bottom tube.  

Repeat the process with the second tube.

Now let's add some goodies!

Open Bow 2.  Copy and paste as a new layer.  Resize by 85%.  Adjust, Sharpness, Sharpen.  Add a drop shadow.  Move it to the left of the frame.  The tail of the bow is going to be in front of your tube, so you will need to erase some of it.  Use your zoom tool to get a close up to help you erase it better.  Set the eraser to the size you want and use a hardness of 50.  I used the round shape as I think it is best for getting along the edges.  Erase until you are satisfied.

Open Flower 2.  Copy and paste as a new layer.  Resize by 60%.  Adjust, Sharpness, Sharpen.  Add a drop shadow.  Move it to the bottom right corner of the frame.

Open the Glitter Spill.  Copy and paste as a new layer.  Adjust, Sharpness, Sharpen more.

Duplicate, Image, Flip.  Merge Down.  Move this layer to just above the mask layer.

Open the Sparkles.  Copy and paste as a new layer.  Duplicate, Image, Flip.  Merge Down.  Adjust, Sharpness, Sharpen more.  Rename this layer Sparkle.

With your eraser tool, erase any sparkles that are outside of the mask layer.  Tip:  I added a dark layer as the bottom layer to help me see the sparkles.  I just toggled it invisible after I was done.

Optional:  to give the sparkles a little color, grab the Change To Target brush 

I decided that I wanted them pink, so I used a little bit darker shade of the pink that I used for my frame background.  Click away until you are satisfied with the color saturation.

For the Word Art:  Choose a thick block font.  Type out ELIAS in all caps in a contrasting color from the ribbon.  I used a pink shade from the flower.  Drag the nodes to the size you want.  Convert to raster layer.  Apply Eye Candy, Gradient Glow with these settings:  Color; Medium, white, 2 color stops at 100 and one color stop at 0.  Size 14, Soft Corners 0, Opacity 100.  Add a drop shadow.

Choose a script font.  Write out Cuties in black.  Position it over your block word.  Add a drop shadow with the previous settings but use white as the color.

Add your copyright and design credit.

Choose another script font.  I did a rotate on mine at 25.  Add a glow or drop shadow if you choose.  Save as a PNG so that you have a transparent background.

I hope you enjoyed my tutorial!  Thanks for stopping by.


Thursday, July 5, 2012

New Template

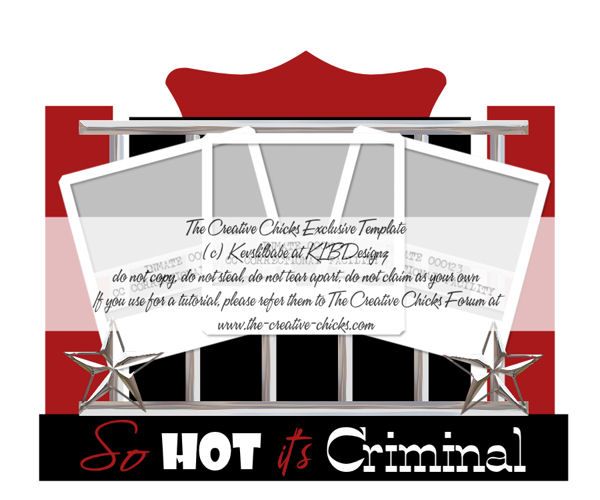
I also made a template for the Template Challenge at Creative Chicks.  It's exclusive, so you have to go to the group to get it.


New Masks

I did a Craft a Mask Challenge over at The Creative Chicks this week and I thought I would share the preview here and the link to go get them.  You may have to join the group since they are a Chicks exclusive for now.