
This
tutorial assumes that you have working knowledge of Paint Shop Pro and it’s
tools. This tutorial was written by
Valerie Atwell of KLBDesignz, on June 21, 2012.
You may not copy it, distribute it or claim it as your own. You are welcome to include a link back to my
tutorial for your groups and forums. If
this tutorial resembles any other in existence, it is purely coincidence.
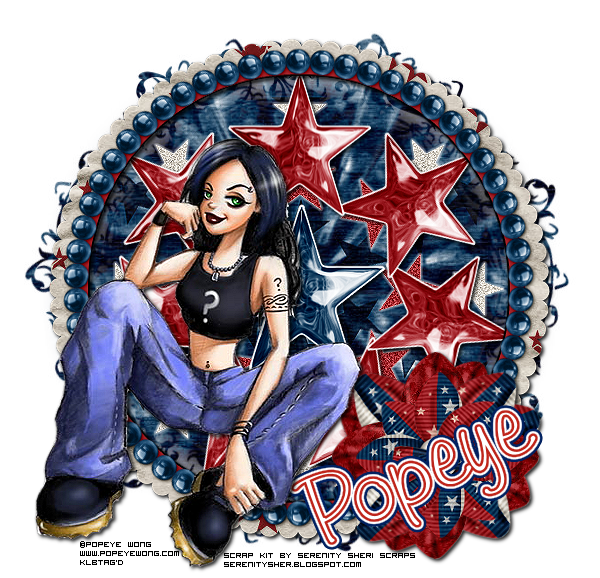
I am using
the awesome artwork of Popeye Wong. You
can find his work at www.popeyewong.com.
What you
need:
Tube of
choice
Font of
choice I am using one called Kayleigh,
found at www.dafont.com
Scrap Kit by
Serenity Sheri Scraps called Patriotic Blog Train found at http://serenitysheri.blogspot.com/search/label/FTU%20tagger%20kit.
Thank you Shari for sharing this
awesome kit!
Eye Candy
4000, Gradient Glow (or you don’t have to use this if you don’t have it)
Mura’s
Meister Copies You can get it here, but
I cannot guarantee the download. http://lundentreux.info/infographie/filtres/Aentree.htm
Mask
350 found at http://weescotslasscreations.blogspot.com
place in your masks folder.
The drop
shadow we are going to use throughout is a follows. Vertical – 2, Horizontal – 2, Opacity – 90,
Blur – 5, Color – Black.
Open the
frame 04. Shift + D to duplicate
it. Close the original. Go to Adjust, Sharpness, Sharpen. Then add the drop shadow.
Open flower
07. Copy and paste as a new layer. Move it to the bottom right of the
frame. Adjust, sharpness, sharpen. Add the drop shadow.
Open flower
09. Copy and paste as a new layer. Resize it by 90%. Move it down and over the other flower. Adjust, sharpness, sharpen. NO drop shadow.
Open star
04. Copy and paste as a new layer. Resize by 80%. Adjust, sharpness, sharpen. Add the drop shadow.
Go to
Effects, Mura’s Meister, Copies. Choose
Encircle with the default settings except reduce the number to 7.
Open star
05. Copy and paste as a new layer. Resize by 80%. Adjust, sharpness, sharpen. Add the drop shadow. Make sure it is in the middle of the star
circle.
Open paper
12. Copy and paste as a new layer. On the layer palette, drag this layer below
the frame layer.
Got to
layers, load/save mask, load mask from disk.
Find wsl_mask350. Make sure
source luminance is ticked and invert transparency is unchecked. Go to layers, merge, merge group or right
click on the layer, merge, merge group.
Make sure
your mask layer is still activated. Open
bling cluster 01. Copy and paste as a
new layer.
Go to
effects, EyeCandy4000, Gradient Glow. In
the color tab, choose thin, color white.
Back to the basic tab, width – 3, Corners – 0, Opacity – 100. Adjust, sharpness, sharpen.
Open your
tube. Copy and paste as a new
layer. Resize if needed. Adjust, sharpness, sharpen. Add the drop shadow.
Add the
copyright and your name. This scrap kit
designer requires that her credit information is included in any signature
tags, please follow her TOUs.
On the name,
I added a glow with Eye Candy.
Save as a
png and you are done.
2 comments:
Hello, Hun!
Stopping by to say hello.
I LOVE how the blog is looking. =)
And I love the tags, too. =)
I have a pressie for you on my blog.
You can find it here:
http://manipulatedbymagik.blogspot.com/2012/06/tag-show-off-arthur-crowe-kick-ass.html
*hugz*
Hi Magik! Thanks for stopping by! I'm glad you like the blog. I'll stop by to see the pressie. Thanks for it in advance. HUGZ!
Post a Comment